No products in the cart.
Return To ShopTie the Perfect Gummy Minnow for Roosterfish
Welcome back to the El Gallo Fly fishing lodge blog. Today, we’ve got another fly for you to make, it’s a gummy minnow. One great way to start building your own flies is to work from other great designs, and this one is a custom design inspired by the work that Black Chocolate did on this style fly a few years back. There’s some real genius in his work, and it serves as a great base, but we think you’ll find this is just a bit improved.
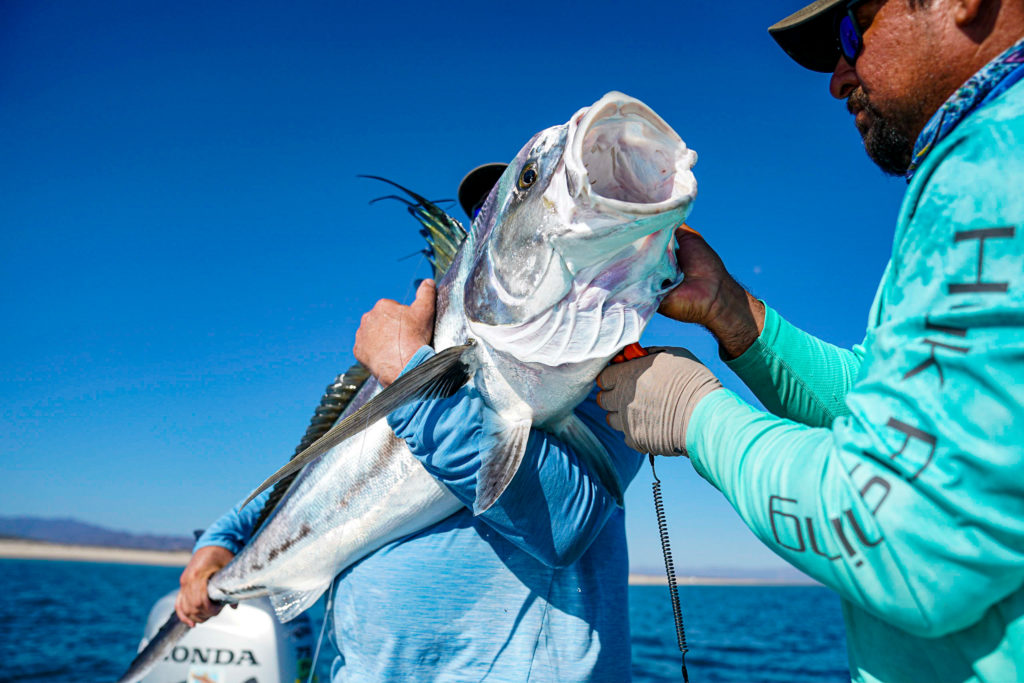
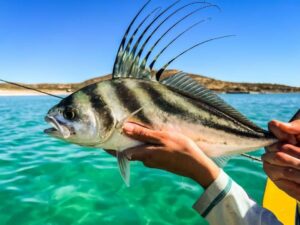
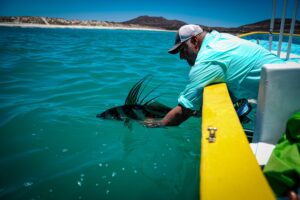
When you’re coming to La Paz for roosterfish, you will need every advantage you can get. These fish are smart, fast and represent one of the best sport fishing challenges we know of. But, this fly has proven itself over and over. We’ve seen a lot of hungry Roosters try to make a lunch of this bad boy and end up posing for our cameras before being sent back home.
In fact, when you tie these, don’t do it hungry, because the boss says he feels like eating them right off his vise, so, be aware of that and be fully fed before you start. You’re welcome, when you come here for fly fishing the tips, the jokes are free.
Things you’ll need
- A 3.0 hook, we recommend black nickel plated with wide bend.
- Lead weight wire
- White thread
- Super glue
- Streamer material
- Clear adhesive sheet
- Opaque green plastic sheet
- Eyes, your choice, flat or 3d prismatic
- To start you’ll want to either make the base from silicone yourself, with is a skill all on its own, but you can go that route, or you can use a base like the one I share in the video embedded in this post.
- Next, take a 3.0 hook and set it up. In the video, Donnie is using a nickel plated black hook with a fairly wide bend and a longer shank. These work best.
- Because this is a bit of a larger pattern, designed for blue water fishing, it’s a big fly. We want to add some weight, near the top of the shank with 8 to 10 wraps of lead wire. This is up to you, and how heavy you want your fly to be and what kind of action you’re looking for.
- Start a thread wrap at the top of the shank and wrap it down to get it secure. This is going to be what we lock everything to the hook with. Seal it with a little super glue along the top edge of the hook. We recommend Zap a Gap.
- From here, wrap the thread to cover the lead underneath and lock it in place. The super glue will help seal this in place. Cut the tag end of your thread as close to the hook as you can.
- The tail starts with a large piece of streamer. You can see what Donnie used in the video. It’s from Fly Tier’s Dungeon. Cut a piece of your streamer to tie along the back side of the weight.
- With your thread hanging below the fly, fold the streamer in half, so that it folds over the thread like a V. Wrap the thread generously back toward the top of the shank, and finish it as demonstrated in the video. Once that’s secure, cut your thread close to the shank.
- For the next part, you’ll want some pieces of color. On this fly, we’ve used green, clear, and some translucent pearl clear. You want rectangles about twice the height of a sardinia, and about as long as their body. You can vary this a bit to your liking.
- Fold the clear material in half, the long way. Cut the folded color with a bit of a taper toward the end and about the size of sardinia, if you were looking at both sides, with the minnow flattened out.
- Cut your green to less than half the width of the clear material, and the same length. Center it in the clear for comparison, then remove the backing to expose the adhesive. To attach the color, place the clear over the green, and apply it along the back of the hook, starting just below the loop at the top of the shank. Nothing about this has to be precise, but pull the synthetic fiber strands back and leave them hanging a bit past the color.
- Starting from the head, carefully press the folded clear onto itself, pressing it firmly to the hook and thread underneath first, then pressing it to itself. This is the belly of your fly.
- Once the material is sealed to itself, start at the head and round the square corner on an angle, down from your hook in the shape of a minnow’s body. Then trim along the bottom edge of the body to make your fly a little skinnier.
- Now for the eyes. Place a dot of Zap a Gap on either side of your fly, about where the eyes would be. Don’t be concerned with perfect alignment, the fish won’t see both sides at the same time. We recommend the prismatic 3d eyes for this, but you can use flat as well. Press one eye to the glue on each side of the head.
- With a sharpee, place a dot of black, about a third of the way between the eye and the tail end of your fly, just above the line where the green and clear meet. The shad and some other varieties have these and we’ve seen increased response when we add this. Do this on both sides.
- Depending on the detail you want, you can also draw gills with a sharpee. The more believable the fly, the more likely you’ll get a bite.
- Finally, cut a piece of clear material the same length as the body of your fly and wide enough to wrap over the whole piece. Start in the center, pressing the material along the back of the hook, making sure to keep it tight. Press it down firmly along both sides of the body and working out any air bubbles around the eyes and anywhere else.
- Trim the bottom edge of your top coat of clear to match the body of the fly and remove any extra.
When you come down to El Gallo, we recommend bringing several of these. As always, if you run across a way to improve or innovate on one of our flies or other tips, please, please, please leave us a comment and pictures. We love to learn new thing, and above all, we want our blog to be a place where fly fishers come to learn and share what they know. Thanks again, and we look forward to seeing you here, on our socials, and of course, the next time you’re in La Paz, come stay with us at El Gallo Fly fishing lodge!
Roosterfishing on the fly can be a daunting task, we understand that it might feel a bit overwhelming. We are here to help. If you have any questions about what have written here, or want to book a trip, feel free to schedule a time to talk with the experts!
Related posts
Fly Fishing for roosterfish is not an easy endeavor, but it is well worth it, this is why! Continue reading
What would the World of Fly Fishing Look Like if Elon Musk Was a Fly Fisher???!!! I know that he would love roosterfish on the... Continue reading
The full story of our Jungle Tarpon Fly Fishing adventure of 2023 Continue reading
Roosterfish fishing in Baja, California has long been revered as an exhilarating pursuit that tests the skills and patience of anglers. While fly fishing purists... Continue reading
The season is upon us! There are plenty of roosters around, but this last week proved less opportunity than most. Still plenty of fish, and... Continue reading



Leave a reply