No products in the cart.
Return To ShopHow to tie the “Jacked-Up Sardinia” Flies, Perfect for Baja Roosterfish!
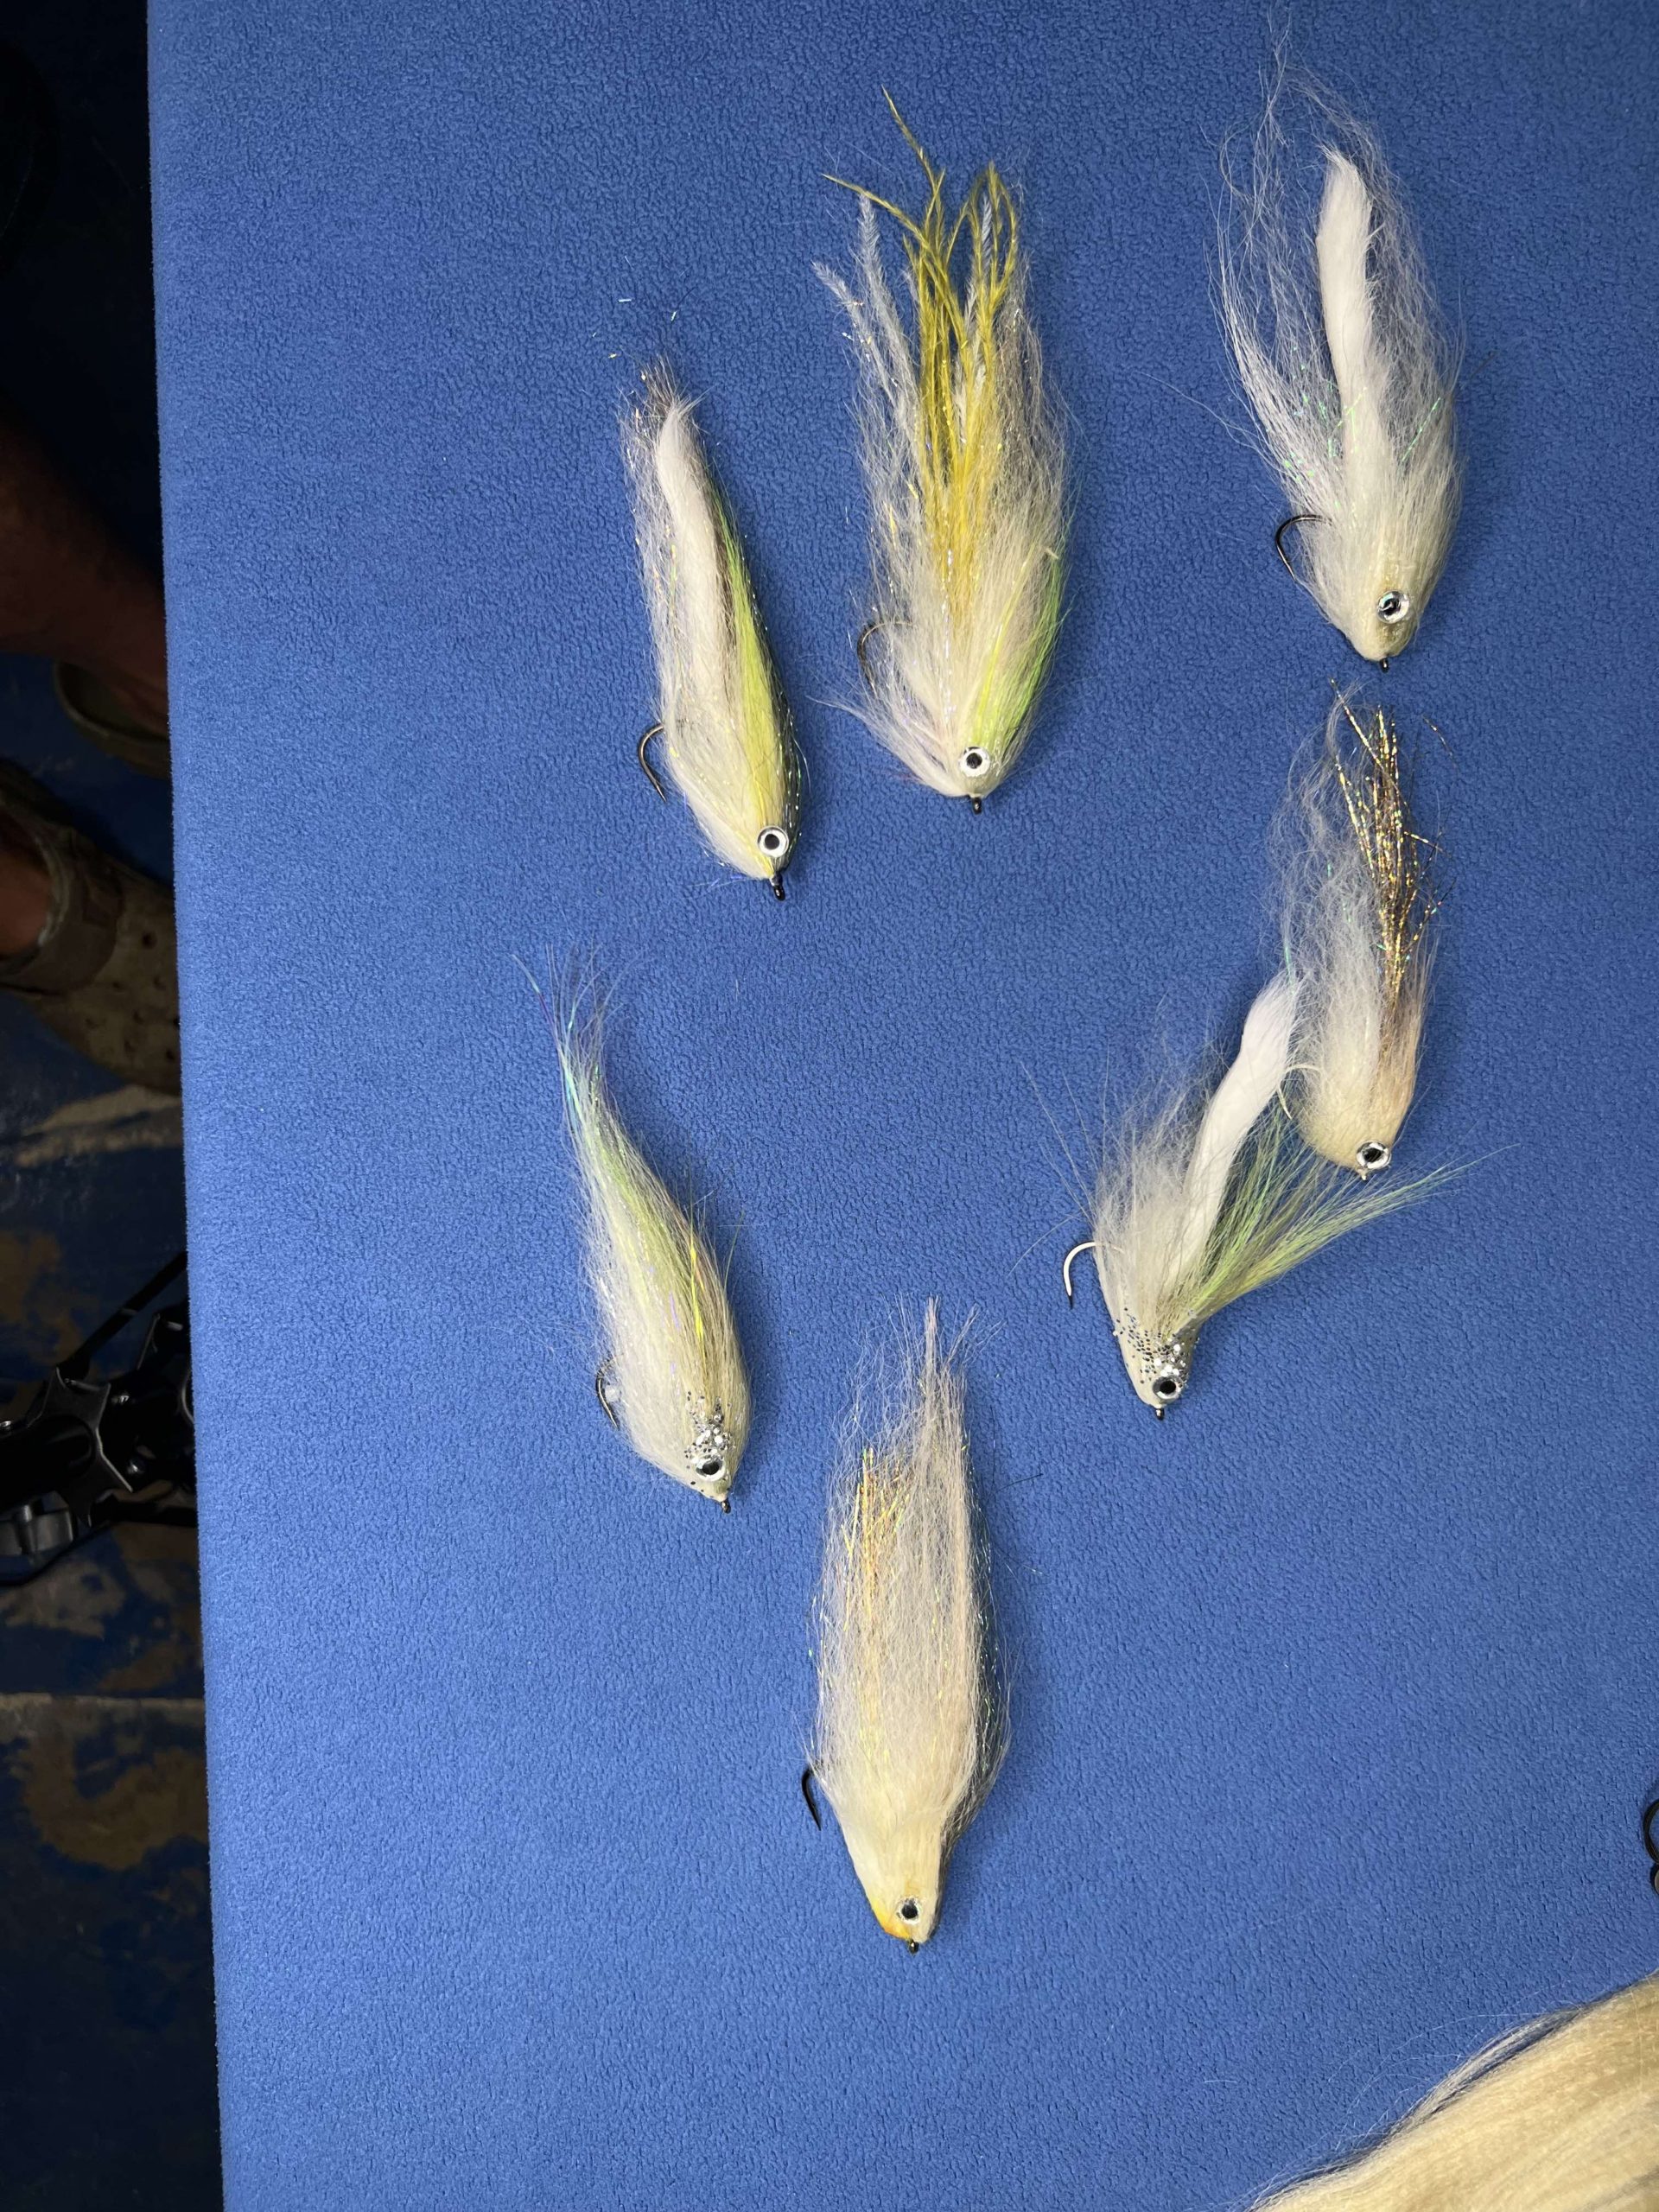
Fishing is a fairly strait-forward endeavor. You figure out what the fish want to eat, where and when, and you give it to them. When it comes to fly fishing, this means creating a fly that moves and looks like their favorite food, and for Roosterfish in the La Paz region of Baja California Mexico that means sardines.
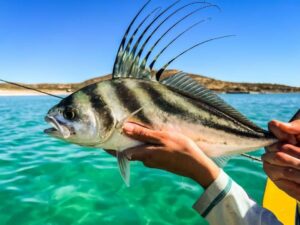
The Sea of Cortez that these monsters call home is packed with the tiny olive and white creatures, and Roosterfish go after sardines like a kid with chicken nuggets. The roosterfish is an intelligent predator, and not just any sardine will fly, but here at El Gallo Flyfishing lodge we’ve got just the ticket with this Jacked Up Sardinia fly. You get a great imitation of their favorite snack, with a lot of action and enough subtle detail to fool even the smartest Rooster.
Before you start, here’s a list of the materials you’ll need to tie this fly. If you’re not that experienced with tying flies, watch the video through at least once before gathering your materials. Watching how they’re used gives you a better idea of exactly what you need.
Here’s what you’ll need:
– 3/0 hooks
– White thread
– White Rabbit Zonker strips
– Silver Sparkle Wing 8″ tinsel
– White Fake Fur
– Olive Fake Fur
– Yellow Sparkle Wing 8″ Tinsel
– 3D eyes
– Super glue
– Silicone
– Silver Glitter
- I like a 3.0 hook in black nickel for this one. You’ll need to set aside plenty of time if you plan to make more than one, or plan on working on it in stages. To start, you’ll use thick white thread, to create a base, about a half inch wide, starting just above the bend of the hook.
- Add a little glue to the back edge of your thread wrap to lock it in place. Next up, take a piece of 40 lb monofilament about 6 inches long,, and place it on top of your glue in line with the hook shaft, aligned with the thread wrap, with one end toward the top of your hook, and the trailing end, curling back toward the bend of the hook.
- Wrap thread over the top of the monofilament to secure it to the hook. With the glue drying, your monofilament should be curving up, back toward the top of the hook. To create your tail, cut a 6 inch piece of White Rabbit Zonker. Wrap this to the shank of your hook with your thread, and pierce a hole in it at about the center of its length.
- Feed the monofilament through the hole and fold it back along the hook. Fasten the top end of your monofilament back to the hook shank, creating an arch that provides movement and prevents the rabbit zonker from fouling the hook.
- Adding a little big game fiber adds body to the fly, work it in with the White Rabbit Zonker, securing it firmly with thread.
- Since these fish are mostly tan on top, I like to use a tan sharpee to add some color along the top edge of the White Rabbit.
- To mimic the sardine, your fly needs a bit of flash, but too much and the Rooster won’t bite. I like to add silver tinsel in the body of the fly, just above the bend of the hook, so that it trails back into the Rabbit. Repeat this on the other side of your fly.
- The head needs to have some bulk to it, so that it will push water. Start with a bit of white fur just below the top of the hook. Once that’s secure, a small shock of chartreuse gets fastened on top of that, with the ends loose toward the top of the hook.
- Fold the chartreuse fur back along the top of your fly, and wrap it from the top end of the hook, so that the yellow color runs along the top back toward the bend of the hook. This mimics the light yellow found in these sardines.
- Add a tuft of white fur along the bottom in the same way. Follow this witha tuft of olive colored fake fur, locking each piece down with thread, and flattening them into the bottom. Watch your thread wrap to keep it moving toward the top of the hook. Wrapping toward the bend will limit the motion of the fly.
- Finish the head with additional tufts of fur, until you’ve got what you want. (see the video for reference)
- To add color, add two yellow sparkle tinsels about 3 inches long, one on each side of the fly. For a little added flash, a small tuft of the silver along the bottom can be added as well.
- Finish the head by folding the top fur along the hook and lock it in. Following that, fold the bottom fur along the hook and lock it in place, keeping the olive on top, and white on the bottom.
- Whip finish up to the top of the hook, trim off the excess and add a little more glue to the thread at the top end of the hook. This is to make sure your knot holds. Better safe than sorry.
- To finish the fur, a dog brush works well. Use light strokes moving from the top, toward the bend of the hook.
- To attach the eyes, add a bit of Zap a Gap to each side of the head. Stay up over the shank and away from the bend of the hook.
- Place a 3d eye on each side of the hook. Avoid compressing the head to preserve the fluffiness of the fly body, which gives this fly its movement. Don’t concern yourself with perfectly aligned eyes, the fish won’t see both sides of the fly at the same time.
- To seal your eyes in place, use a clear, home improvement grade silicone to glaze over each eye. Build up a bit of silicone in front of the leading edge of the eye, brushing it back and across the top of the eye.
- For a final touch, you can add a small amount of silver craft glitter. Dust it lightly over the top of the silicone, careful to remove any bits that may lodge on top of the eyes.
And there you have it! A complicated, but effective fly for catching roosterfish while fly fishing in Baja California. We’re working on more instructional videos and blog posts regularly, so, if you have a suggestion of anything you think would be a good addition, please let us know.
We also love to see what our readers are up to, so if you use this tutorial to make your own Jacked Up Sadiinia flys, find us on social media and share an image or two. We love new ideas, so be sure to point out any improvements, or experimental features you add to yours. Be sure to stop by our Site for all of your fly fishing needs before heading out on your next adventure!
Related posts
Fly Fishing for roosterfish is not an easy endeavor, but it is well worth it, this is why! Continue reading
What would the World of Fly Fishing Look Like if Elon Musk Was a Fly Fisher???!!! I know that he would love roosterfish on the... Continue reading
The full story of our Jungle Tarpon Fly Fishing adventure of 2023 Continue reading
Roosterfish fishing in Baja, California has long been revered as an exhilarating pursuit that tests the skills and patience of anglers. While fly fishing purists... Continue reading
The season is upon us! There are plenty of roosters around, but this last week proved less opportunity than most. Still plenty of fish, and... Continue reading



Leave a reply